Setting up a Bestway above-ground pool is straightforward when you prepare the site properly, identify every component before starting and follow the instructions for your exact model. A little patience during assembly also helps protect the liner, keep the frame square and prevent problems once thousands of litres of water are added.
This guide covers the general process for unpacking, assembling, filling and maintaining Bestway frame pools and Fast Set inflatable-ring pools. Always keep the supplied owner’s manual beside you because the frame connections, pump fittings, water capacity and assembly sequence vary between models.
Pool safety comes first: Children can drown in portable pools. Maintain active adult supervision whenever children are in or near the water and keep young children within arm’s reach. In Australia, pool fencing laws apply to portable pools capable of holding water at least 300 mm deep. Check the requirements with your local council before filling the pool. A pool cover is not a safety barrier.
1. Read the manual and inspect the site first
Do not begin by opening the carton and joining whichever tubes appear to fit. Locate the owner’s manual, confirm the model number and read the complete assembly section first. Check the stated pool dimensions so there is enough room for the frame, support legs, pump, hoses and safe access around the pool.
Choose a location that is:
- completely level, firm and stable;
- clear of stones, sticks, roots, sharp objects and aggressive vegetation;
- large enough for the entire pool and every support foot;
- accessible for filling, filtration, cleaning and eventual draining; and
- compliant with local fencing, electrical and pool-safety requirements.
Bestway advises against setting an above-ground pool on sand, mud, soft or loose soil, gravel, asphalt, a driveway, deck or raised platform. Sand should not be used to build up a low side because it can move under the weight of the pool. If the ground is uneven, lower the high area until the full footprint is level rather than trying to support one side with loose fill.
Remember that a filled pool is extremely heavy. Never assume a deck, balcony or other structure can carry it without written confirmation from a suitably qualified professional.
2. Unpack and identify every component
Open the carton carefully without pushing a knife or other sharp tool into the box. Remove the liner, frame sections, connectors, pins, support feet, hoses, pump components, strainers, stoppers and repair patch. Arrange the parts on the ground cloth and compare them with the parts diagram in the manual.
Check the liner and components for shipping damage before assembly. Keep the packaging, purchase information, model number and serial number until the pool has been assembled and tested. If a component is missing or damaged, do not improvise with an unsuitable replacement.
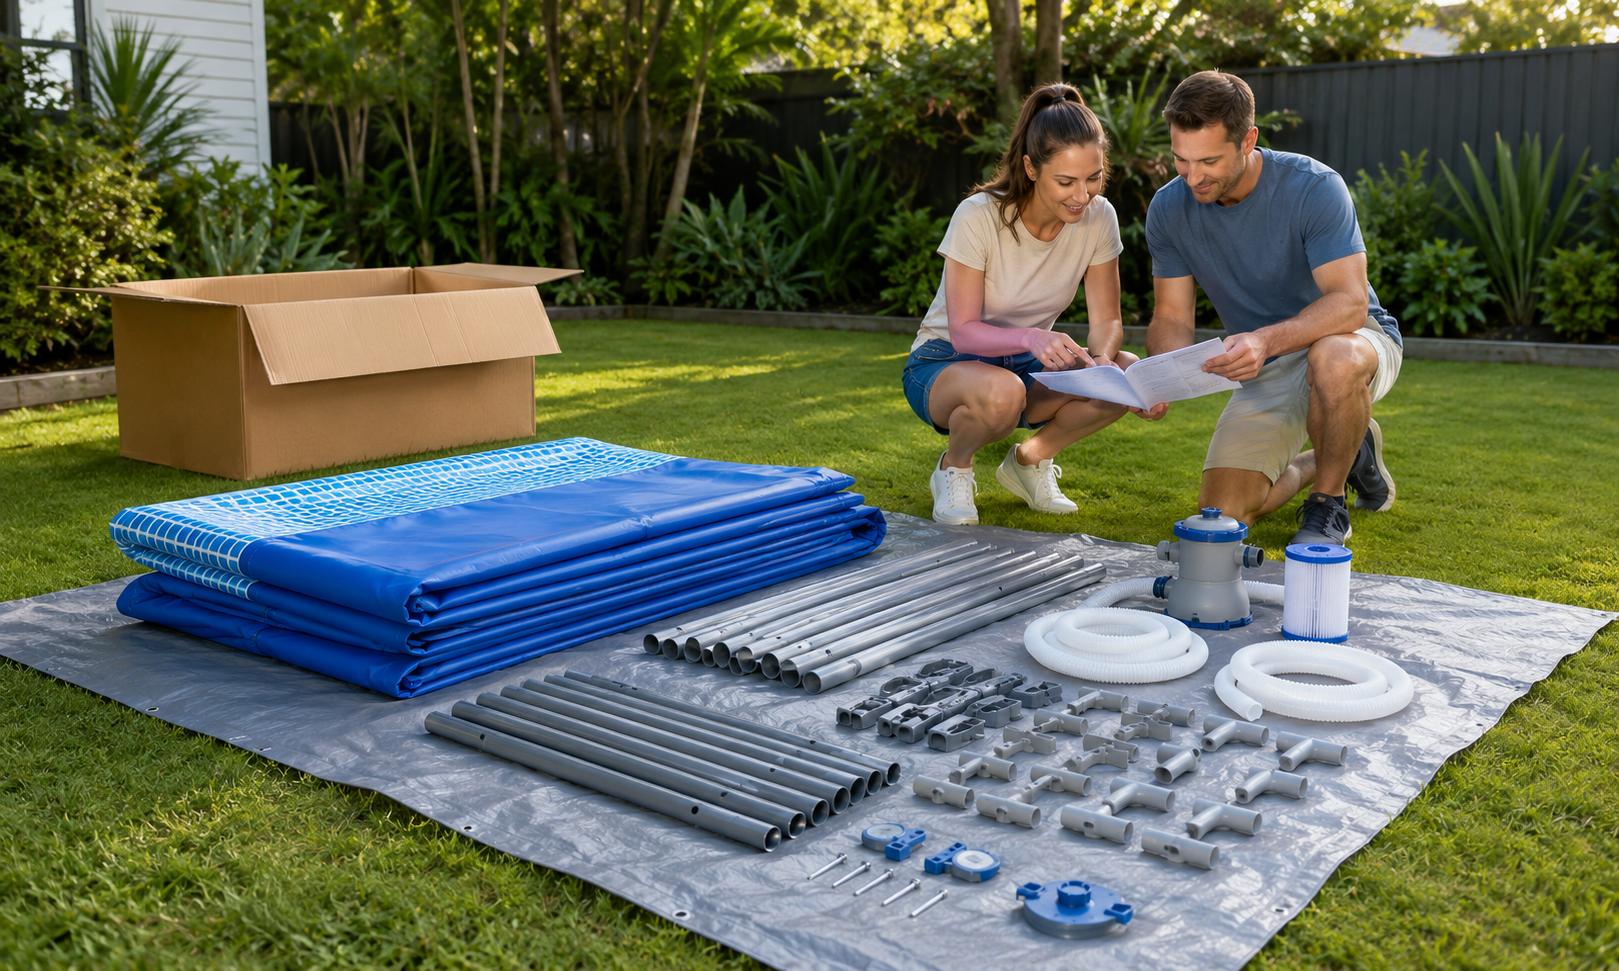
Lay out the liner, frame pieces, connectors, hoses and filtration components before assembly.
3. Prepare the ground cloth and liner
Remove debris and vegetation from the selected area, then place the protective ground cloth flat on the prepared surface. The ground cloth helps protect the base from abrasion, but it cannot correct an uneven site or prevent strong vegetation from growing through the liner.
Carry the liner onto the ground cloth rather than dragging it. Spread it in the correct orientation, with the pump connections facing the planned pump location and the drain valve facing a suitable drainage direction. Let tightly folded material relax briefly in warm, mild conditions if permitted by the manual, then smooth the base gently by hand.
4. Assemble the pool according to its design
Steel-frame pools
- Feed the horizontal top rails through the liner sleeves in the sequence shown in the manual.
- Join the rails with the correct T-connectors or corner connectors. Install all required pins and seals without forcing them.
- Insert the vertical supports and place every foot flat on firm ground.
- Make sure the legs are vertical, evenly spaced and correctly positioned through any liner support bands.
- For rectangular or oval models, install the side supports, straps and braces exactly as illustrated for that model.
The upper rails may not look perfectly straight while the pool is empty. On applicable models, water pressure brings the liner and frame into their final position as the pool fills. This is not a reason to ignore a disconnected rail, twisted support or uneven base—correct those problems before adding water.
Fast Set inflatable-ring pools
Spread the liner evenly, make sure the base is centred and inflate only the upper ring to the pressure specified in the manual. Do not overinflate it. The ring rises as the pool fills, so the ground must be level and the base must remain smooth and centred from the beginning.

Work around the pool methodically, checking each connector, support leg and foot as you go.
5. Connect the filtration fittings
Fit the inlet and outlet strainers, hoses, clamps and valves in the positions shown in the pool and pump manuals. Confirm the water-flow direction before tightening the hoses. The filter pump or sand filter should stand upright on firm ground below the pool’s water level unless the model instructions state otherwise.
Keep the pump power disconnected during installation and maintenance. Use an outdoor electrical supply that complies with the manual and local requirements, including the specified safety protection. Keep plugs, sockets and electrical connections away from pooled water. Never operate a pump dry.
6. Begin filling slowly and check the level
Add only a shallow layer of water first. At approximately 2–5 cm deep, pause and smooth wrinkles in the floor from the centre towards the wall. Check that the water depth is even around the entire pool.
If water gathers noticeably on one side, stop filling. Drain the pool and level the site before continuing. Never attempt to lift, pull or pack under a pool containing a significant amount of water.
As the water rises, regularly check that:
- the liner remains centred and is not trapped around connectors;
- support legs remain straight and their feet stay flat;
- side straps and braces remain correctly positioned;
- hoses and fittings do not leak; and
- the frame stays even without bowing or twisting.
Fill only to the level marked on the liner or specified in the manual. Bestway commonly identifies the welding line as approximately 90% of the pool’s capacity. Do not overfill. After heavy rain, lower the water if necessary to restore the specified level.
7. Start the filter correctly
Before switching on the filter, open the required valves and purge trapped air from the hoses and pump using the procedure in the pump manual. Check all connections for leaks, then start the system. Follow the operating instructions for your particular cartridge filter or sand filter, including any restrictions on using the pool while filtration equipment is operating.
Bestway recommends running the filter pump or sand filter for at least eight hours per day, with longer operation sometimes required because of pool size, water condition, weather or heavy use. Use the operating-time table supplied with the filtration system where available.
8. Balance and test the water
A filter removes suspended debris, but filtration alone does not sanitise the water. Test the water before each use and follow the directions supplied with the test strips and pool chemicals. Bestway’s published guidance for above-ground pools lists these target ranges:
- total alkalinity: 80–120 ppm;
- pH: 7.4–7.6;
- calcium hardness: 200–400 ppm;
- cyanuric acid: 30–50 ppm; and
- free available chlorine: 2.0–4.0 ppm.
Water conditions and chemical systems vary, so obtain product-specific advice from a reputable Australian pool-chemical supplier. Always follow the chemical label. Never mix different pool chemicals together, and do not add concentrated chemicals directly against the liner unless the product directions specifically permit it. Keep all chemicals locked away from children and protected from heat and moisture.
9. Follow a simple maintenance routine
Before each swim
- Test the water and confirm it is clear enough to see the bottom.
- Inspect the liner, frame, supports, ladder and visible fittings.
- Remove leaves and floating debris with a skimmer.
- Check that the pool barrier and self-closing gate operate correctly.
Every week
- Unplug the pump before opening or cleaning any filtration component.
- Remove the cartridge and rinse between its pleats with clean water. Replace it if it remains dirty, damaged or discoloured.
- Brush the liner gently with pool-safe equipment and vacuum settled debris.
- Inspect hoses, clamps and seals for seepage or deterioration.
- For a sand filter, check the pressure gauge and backwash and rinse only when required by its manual.
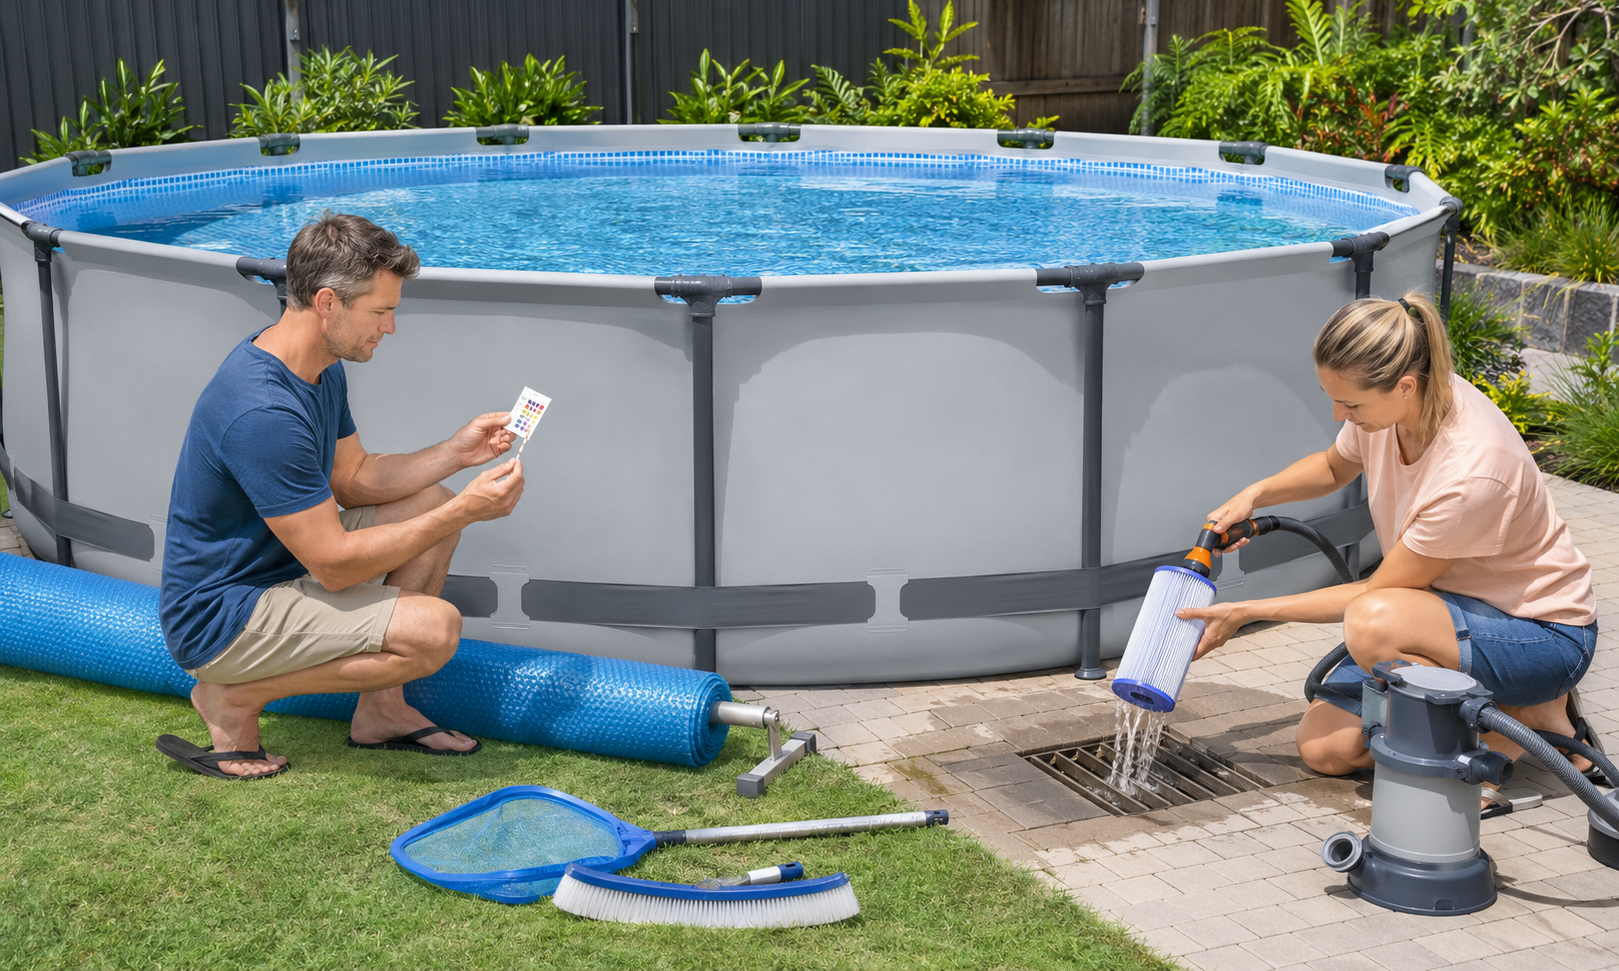
Regular water testing and filter maintenance are easier than recovering a cloudy or green pool.
When the pool is not being used
Fit the correct pool cover to reduce leaves and other contamination, but never treat the cover as a child-safety barrier. Remove the ladder or otherwise secure access when required by the product instructions and local safety rules. Store pool toys away from the water so they do not attract unsupervised children.
10. Deal with cloudy or green water early
If the water becomes cloudy or green, stop using the pool until water clarity and chemistry are restored. Test the water, inspect and clean the filter, remove physical debris and increase filtration time where appropriate. A pool-chemical professional can recommend the correct treatment for the pool volume and test results. Guessing chemical quantities usually makes the problem more expensive—pool water has a surprisingly poor sense of humour.
11. Drain, dry and store the pool properly
When it is time to dismantle the pool, check local requirements for disposing of treated pool water. Direct the drain hose to an approved location where the water cannot damage buildings, gardens or neighbouring properties.
For most non-Hydrium Bestway pools, drainage involves removing the outside drain cap, connecting the supplied hose adaptor and garden hose, then opening the drain valve. Follow the exact manual because valve designs differ. Disconnect the pump and store it according to its instructions.
Clean the liner using mild soap and water, rinse away all residue and allow every part to dry completely. Moisture trapped in a folded liner encourages mould and unpleasant odours. Bestway advises folding the liner only when the temperature is above 15 °C and storing the dry liner and accessories in a carton in a dry place between 15 °C and 38 °C. Do not place heavy or sharp items on top.
A careful setup pays off all summer
The most important steps happen before the pool is full: choose a genuinely level site, check every part, protect the liner and stop immediately if the first shallow layer of water reveals an uneven base. Once the pool is operating, consistent filtration, testing and light cleaning will protect the water and reduce the need for major corrections.
Explore Habitura’s Bestway pools, covers, inflatables and accessories to find a pool and care equipment suited to your outdoor space.